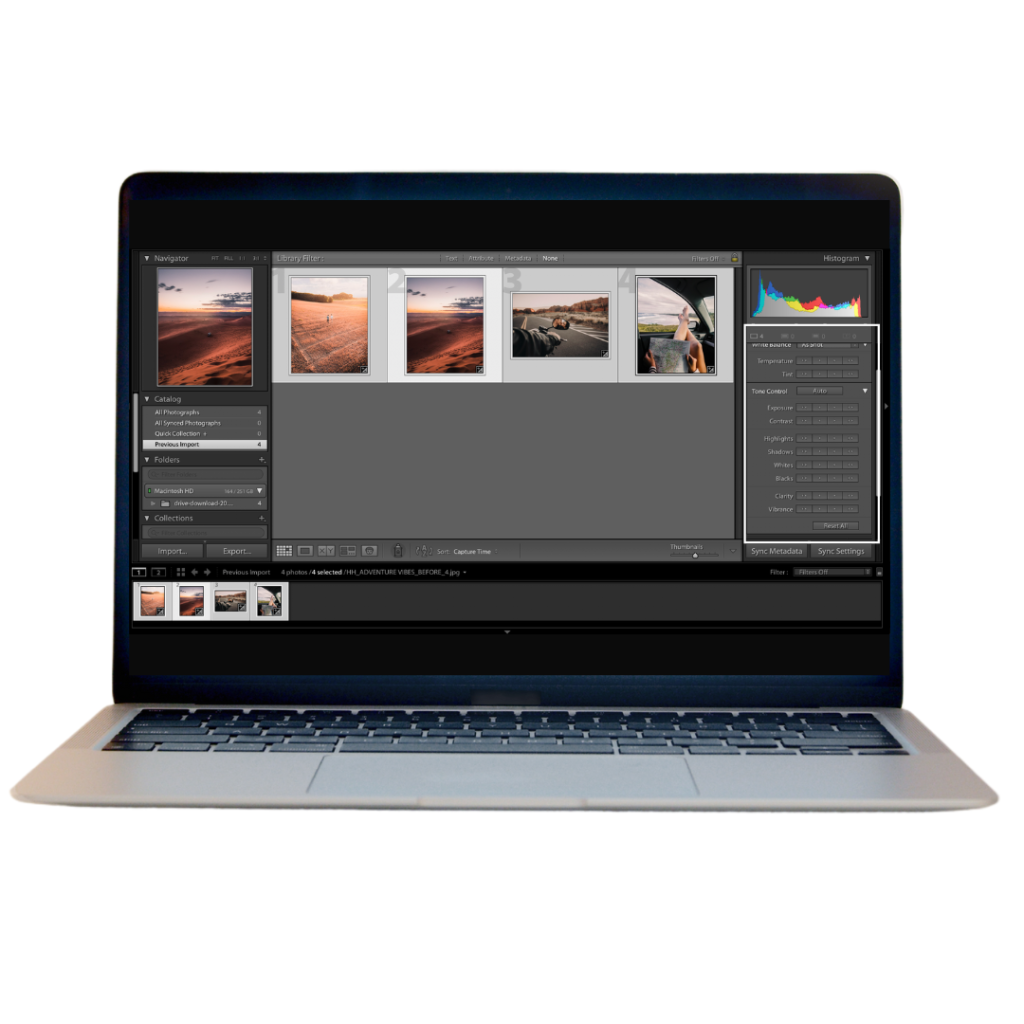
How to batch edit in Lightroom?
Today we will delve into how to batch edit in Lightroom Batch editing in Lightroom is powerful and can save you much time when working with many photos. With the above steps, you will have now optimized your workflow while creating a consistent outcome across your entire library of photographs.
The keys to batch editing are organizing your photos once more, using and applying presets, and fully leveraging Lightroom’s tools. Once you practice this, you’ll be able to edit hundreds of photos rapidly and efficiently, carving out hours that can be returned to the creative side of your photography. You can edit a large number of photos easily. You can sharpen the blurry background of the image. It is the best batch editor application.
This application can edit high-quality and high-resolution photos and photos in jpeg files and also in the Java version. You can batch edit in Lightroom on many devices like iPhones, iPads, and Android. In this article, we discuss how to batch edit in Lightroom.

What is batch editing in Lightroom?
Lightroom batch editing is a feature that auto-enables applying similar adjustments to several images simultaneously. Photos, particularly at scale, are a laborious process, and this will save you a ton of time and effort.
Synchronizing Edits
Edit a Photo: While not covered at this time in the Develop module, you would want to make the desired edits to a single photo.
Select All Photos: If you want to edit all the photos, select them all in Ctrl (Windows) or Cmd (Mac) and click on the other photos to edit.
Now just click the “Sync” button at the bottom of the Develop module.
Choose the specific settings you want to sync, such as exposure, contrast, or white balance.
Click Sync. Now all your images will be edited with the desired settings.
Why should I batch-edit photos in Lightroom?
How to Batch edit in Lightroom can help speed up your workflow and ensure the same look over many photos. Now we will highlight the reasons for doing this:
- Efficient Editing: Apply the same edits to multiple photos simultaneously, saving time and effort.
- Consistency: Batch editing gives a uniform look and feel to all images be it color tone exposure level or some other adjustments.
- Efficiency: It helps in the quick processing of many images, particularly during projects like wedding photography or travel photography.
- Flexibility: It allows you to define which edits will be applied to several photos, so you still retain some control over how the final looks.
- Generative fill is a new tool for users which have a new exciting gradient.
- Non-Destructive Editing: Lightroom doesn’t touch original images, so you can do all edits possible without worry.
Streamline your editing workflow
The strength of Lightroom is in its batch-editing process same adjustments, such as exposure, contrast, or white balance, can be applied to a batch of pictures together. You just select the images, apply your modifications, and then synchronize those modifications onto the entire selection.
Use your favorite presets.
A preset is a group of editing adjustments that you can apply to your photos with a single click. You can create your own, or download and install them from any number of sources. By using this quick method, you can easily apply a desired look and feel to your images, saving you significant time and effort.
Work smarter with AI masking.
Adobe Sensei, the artificial intelligence technology in Lightroom, allows you to automate the most tedious of tasks. For example, it allows error-free selections of areas in your image using masking tools to make only the selected components adjustable. This can prove especially useful in situations like sky replacement or subject isolation.
These techniques are proven to speed up your editing workflow so that you can finish professional-quality work. Never forget: practice makes perfect. So play around with different setups and approaches for creating styles that reflect your personal touch.
Method 1: Apply Changes to a Batch of Photos During Import
One of the best features of Lightroom allows you to carry through consistent edits to multiple photos as you import in one go. This is a touch more refined than the option of making batch edits after the fact, and this would speed up your workflow, especially for larger batches of images. By importing and applying initial adjustments before you start editing, you have set a solid baseline for yourself. In this article, we discuss how to batch edit in Lightroom.
Here’s a guide on how to put through some changes during importing:
Step 1: Import it
Click the “Import” button located in the bottom left corner of the Library module.
Step 2: Choose it
Browse files to locate the photos to import.
Choose to “Import” selected individual photos or an entire folder.
3: Select it
Choose a preset: In the Apply During Import Panel, choose a preset from the drop-down. Presets are preconfigured sets of editing settings you can apply to several photos in a single go.
Change settings: If there is no preset that suits you, you can manually change exposures, contrasts, white balance, etc. These will all be applied to all your photos
Method 2: Copy and Paste Edits from One Photo to Another
One of the most powerful features in Lightroom is the ability to render consistent edits on multiple photos during import, as this might speed your workflow dramatically in the case of fairly large batches of images. Providing initial adjustments at the import stage gives a consistent launching pad for your editing. In this article, we discuss how to batch edit in Lightroom.
Follow this guide to applying changes during import:
Step 1: Select it
A preset is a group of editing settings, already configured, that can apply to many photos during the “Apply During Import” panel.
Step 2: Customize it:
If you do not have a suitable preset in your hands, you could manually adjust exposure, contrast, white balance, and so on. These adjustments will be applied to every tag you import.
Step 3: Paste it
Click the “Import” button that is located at the bottom left corner of the screen.
Photos You Want to Import:
Find the photos you want to import by browsing through your files.
You may also select individual photos or entire folders.
How to Batch Edit in Lightroom Classic Batch Editing in Lightroom Classic
Lightroom Classic is a web name, batch editing is one of the most powerful techniques as you can apply the same edit to many images simultaneously. Follow the given steps:
Classic Method 1: Apply Presets During Import
Open the Import dialog by clicking “Import” in the Library module.
- Select your desired images
- On “Apply During Import,” click the menu to select a preset.
- After the app, you’re done; click Import to bring in the image with the preset applied on all selected photos.
- Thus, applying presets during import allows you to get a uniform look throughout your image set, cutting down the mountain of work you have to do.
Classic Method 2:Applying Presets in the Library Module
The fastest and safest way to batch edit in Lightroom is using presets straight from the Library module’s grid view. This method lets you very quickly put consistent edits on several photos while never leaving the Library module for the Develop module for any of the individual pictures.
- Select Your Photos:
- Go to the Library module.
- Hold the Command (Mac) or Ctrl (Windows) key down and select multiple photos individually.
- To select a group of photos, click the first one, hold down the Shift key, and then click the last one in the group.
- Apply the Preset:
- Find the Quick Develop panel on the right side of your screen.
- Select the proper preset from the preset drop-down list.
- Lightroom then automatically applies all highlighted photos with that preset.
With this technique, you would ensure that your workflow operates smoothly and the collections of your images would remain uniform. This method works especially well for performing basic adjustments in exposure, contrast, and white balance for a lot of photographs. In this article, we discuss how to batch edit in Lightroom.
